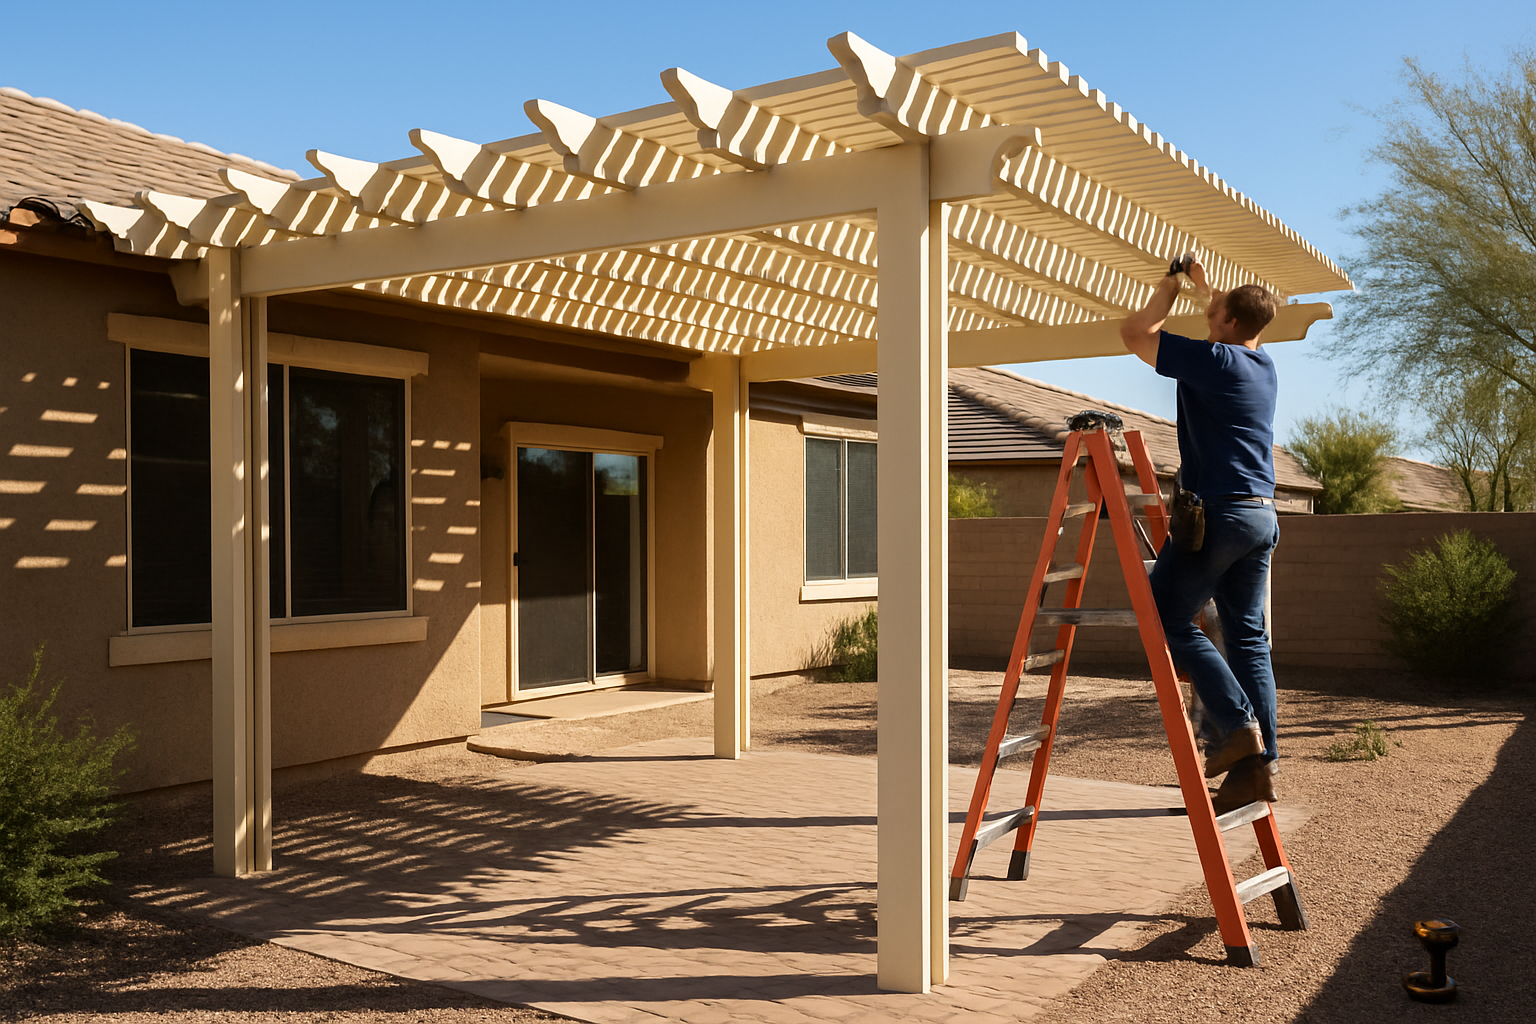
Picture this: a cool patch of shade, a glass of iced tea sweating on the table, and a clean, modern Alumawood pergola framing those big Arizona skies. Sounds nice, right? The good news is a beginner can build one with patience and a plan. It’s simple—well, simple-ish once you break it down. Here’s a friendly, no-fluff guide built for Maricopa County homeowners who want that backyard upgrade without turning the project into a saga.
What’s Alumawood, and why do folks here love it?
Alumawood is aluminum shaped and textured to look like wood. It won’t rot. Termites won’t even look at it. The factory finish shrugs off the sun better than paint on standard lumber. Around Phoenix, Mesa, Chandler, and beyond, that matters. Our summers are no joke, and July monsoon bursts can twist weaker builds. Alumawood stands tough and cleans up with a hose.
And the look? Crisp lines, clean edges, and wood-grain texture that reads warm instead of industrial. If you’ve ever painted a real-wood patio cover—again, and again—you’ll understand why this stuff has a fan club.
Quick planning: size, style, and the HOA reality check
Start with purpose. Do you want a cozy 10×12 over a grill station, or a 12×20 zone for dining and lounging? Bigger spans call for beefier beams and more posts. Simple truth.
Shade type matters, too:
- Lattice/slatted roofs add dappled shade and airflow. Great for most yards here.
- Solid covers block sun and rain but need a pitch for drainage and careful attachment to the house.
Orientation plays a role. Run shade slats east–west for stronger midday shade, or north–south for softer morning and afternoon light. If you face west in Peoria or Goodyear, you know that late sun can feel like a hair dryer—denser spacing helps.
Now, two quick but crucial checks: HOA rules and permits. Most HOAs want an application with a simple drawing and color sample. Many cities in Maricopa County require a building permit for patio covers (freestanding or attached). Plan sets are straightforward, but call your city (Phoenix, Scottsdale, Gilbert, etc.) or Maricopa County for unincorporated areas. It’s way easier to ask now than patch mistakes later.
Tools and Materials you’ll actually use
You don’t need a contractor’s van. Here’s a realistic list:
- Tape measure, fine-tip marker, string line, and a level (2–4 ft)
- Hammer drill with 1/2-inch masonry bit (for anchors in concrete)
- Impact driver with nut-setters and self-tapping screw bits
- Miter saw with a non-ferrous metal blade (clean cuts in aluminum)
- Post hole digger or auger (if setting posts in concrete)
- Concrete mix (if footings are needed) and Sonotube forms
- Anchors: wedge or epoxy-set anchors; Simpson Strong-Tie parts are common
- Color-matched screws, end caps, and touch-up paint (often in the kit)
- Safety gear: glasses, gloves, hearing protection
Most Alumawood kits include posts, beams, rafters, shade bars, brackets, and caps. If you’re attaching to the house, gather ledger hardware and quality sealant rated for sun and rain.
Layout like a pro (string lines save marriages)
Good layout keeps your project smooth and arguments light. Mark the footprint and pull string lines where the outside edges will land. Square the corners using the 3-4-5 trick (measure 3 feet on one side, 4 on the other, and confirm a 5-foot diagonal). Repeat on the far side. When both diagonals match, you’re square.
Call 811 before digging—seriously. It’s free and fast. If you’re building on an existing slab, mark post base locations and confirm the slab is at least 4 inches thick and in good shape. Soft or cracked concrete won’t hold anchors well in a monsoon gust.
Posts and footings: the boring part that makes everything solid
Two paths here:
On a slab: Install post bases with wedge or epoxy anchors. Follow the anchor manufacturer’s embed depth and spacing. Vacuum the holes clean before setting anchors; dust weakens the hold. Set the bases square to your layout lines.
In soil: Use 12–16 inch diameter footings at 18–24 inches deep (our frost line is shallow, but wind is not). Bell the bottom a bit for better pull-out resistance. Pour concrete flush with grade or just above; set post bases in the wet mix or drill for anchors later. Give it 24–48 hours to cure before loading.
Cut posts to finished height. For a lattice cover, level is fine. For a solid cover, add a subtle pitch—about 1/4 inch per foot—for drainage. Plumb each post carefully with your level and secure it. A little patience here makes the rest snap together.
Beams, rafters, and shade bars: the fun assembly
Think of the frame as a simple ladder on legs. Start with beams (headers) across the posts. Use the supplied brackets, then check for level and straight lines. Mild contradiction here: you want everything perfectly straight, yet you’ll nudge a piece or two for looks. That’s okay—eyeballs count.
Rafters run perpendicular to beams. Space them based on your kit’s specs and the shade you want—often 12, 16, or 24 inches on-center. Use color-matched screws and snug them tight without crushing the material.
Shade bars go on top, opposite the rafters, to increase shade and stiffness. Keep spacing consistent. Many kits have decorative end cuts (corbel, scallop, miter). Lay them out on the ground first to choose the look you like. You know what? A quick tape layout on the driveway saves cut regrets.
If you’re attaching to the house, use a properly flashed ledger. No shortcuts with the stucco. Seal penetrations with UV-rated sealant and tuck flashing under the existing house wrap when possible.
Anchoring for Arizona conditions: wind, sun, and “did you feel that?” moments
Our weather swings hard. Secure connections matter:
- Use the anchor size and count your kit or engineer specifies, especially for freestanding builds.
- Add lateral bracing where recommended—decorative L-brackets often pull double duty here.
- Seal every wall penetration. A tidy bead today prevents stucco stains tomorrow.
- Touch up cuts with the manufacturer’s paint to guard against corrosion and color mismatch.
One more local tip: if your yard faces open desert or a wash, plan for bigger gusts. Slightly beefier anchors or a post added in the design can pay off during a July storm.
Electrical add-ons: fans, lights, and code stuff
Ceiling fans and dimmable string lights turn a pergola into a room. If you’re running power, use wet-rated fixtures and boxes, GFCI protection, and outdoor-rated conduit (EMT or PVC). Bonding and grounding aluminum structures is important. Many homeowners call a licensed electrician here, and we think that’s smart—especially with code permits and load calcs. Keep penetrations neat and sealed, mount junction boxes on structural members, and use in-use covers on outlets. The little details keep your system safe and squeak-free.
Bonus: shade can ease AC strain. SRP and APS both talk up shade’s role in energy savings, and you’ll feel it on your patio floor by late afternoon.
Weekend timeline and handy shortcuts
Can you build a standard 10×12 in a weekend? Yes—if you stage well.
Day 1: Finalize layout, set post bases, or pour footings. If you pour, let concrete cure overnight. Pre-cut rafters and shade bars while you wait.
Day 2: Set posts, hang beams, add rafters, then shade bars. Cap everything, touch up paint, and clean the site. Take a slow walk-around with a cold drink and a level. Tighten what needs love.
Shortcut worth sharing: pre-drill pilot holes on a stable surface. It speeds up assembly and keeps your lines straight.
Common mistakes we see (and how to avoid them)
A few repeat offenders:
- Skipping square: if your diagonals don’t match, the frame will fight you.
- Wrong blade: a wood blade chews aluminum. Use a non-ferrous metal blade for clean cuts.
- Under-anchoring: two anchors where you needed four won’t feel wrong—until the first monsoon.
- No slope on a solid cover: water needs a path. Give it one.
- Ignoring HOA or permits: it’s boring paperwork; it’s also cheaper than redoing work.
- Shade slats facing the wrong way for your sun exposure: test shadow lines at noon with a couple of boards before you commit.
What’s this going to cost, and when should you call a pro?
For a straightforward 10×12 Alumawood lattice pergola, materials often land in the $2,000–$4,000 range depending on style, posts, and add-ons. Professional installation typically runs higher—think $4,000–$8,000+—with variations for size, permitting, and electrical.
Call a pro if you’re attaching to the house and not sure about the ledger, if spans push the limits, or if you want lighting and fans without the wiring headache. Also, if your slab is cracked or out of level, we can fix that and get you square, fast.
A quick word on maintenance
Hose it off now and then. A little mild soap handles barbecue smoke and dust. Check fasteners once a year—especially after summer storms—and snug anything that loosened. Touch up nicks with the factory paint. That’s about it. No sanding. No staining. No splinters on Saturday morning.
Ready for shade, or want a hand from locals who build these every day?
Arizona Pergola Company has installed Alumawood pergolas across Maricopa County—from Sun City and Surprise to Gilbert and Queen Creek. We know the wind, the HOAs, and the permit counters, and we build covers that look sharp and last. If you’d like us to walk your yard and sketch ideas, give us a call at 480-568-5870 or Request a Free Quote. We’ll help you get the shade you want, without the stress you don’t.